Engraving on wood is one of the elegant printmaking techniques. First of all, a print is created by engraving the reverse picture, design or pattern on a block of endgrain wood. Before engraving, the wood is made very smooth and shiny just like a mirror.
The basic difference between a woodcut and wood engraving is that a woodcut is done along the grain of wood but a wood engraving is done on the endgrain of the wood.
After the block of wood is engraved completely, ink is applied to its face and print is taken on paper by putting slight pressure on the back of the block. You can produce so many original prints out of single nicely engraved block.
Hand tools & Accessories used for wood engraving:
Wood engraving is a kind of relief printing. Boxwood is the cheap and the best wood for engraving. The basic woodworking tools hand tools and related accessories used for engraving the wood are:
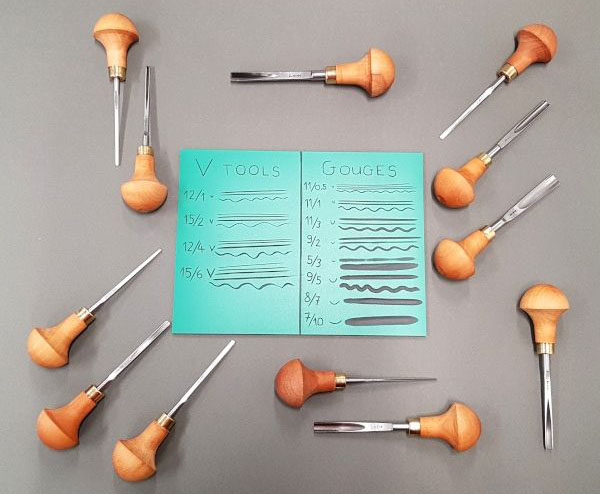
- Gouge: A gouge is a tool having a curved blade and is used for carving the wood around the engraved area, so that only the engraving is left behind in the block.
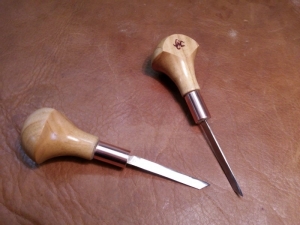
- Chisel : A small chisel is used for lowering edges, preparing small plugs and cutting straight edges of wood.
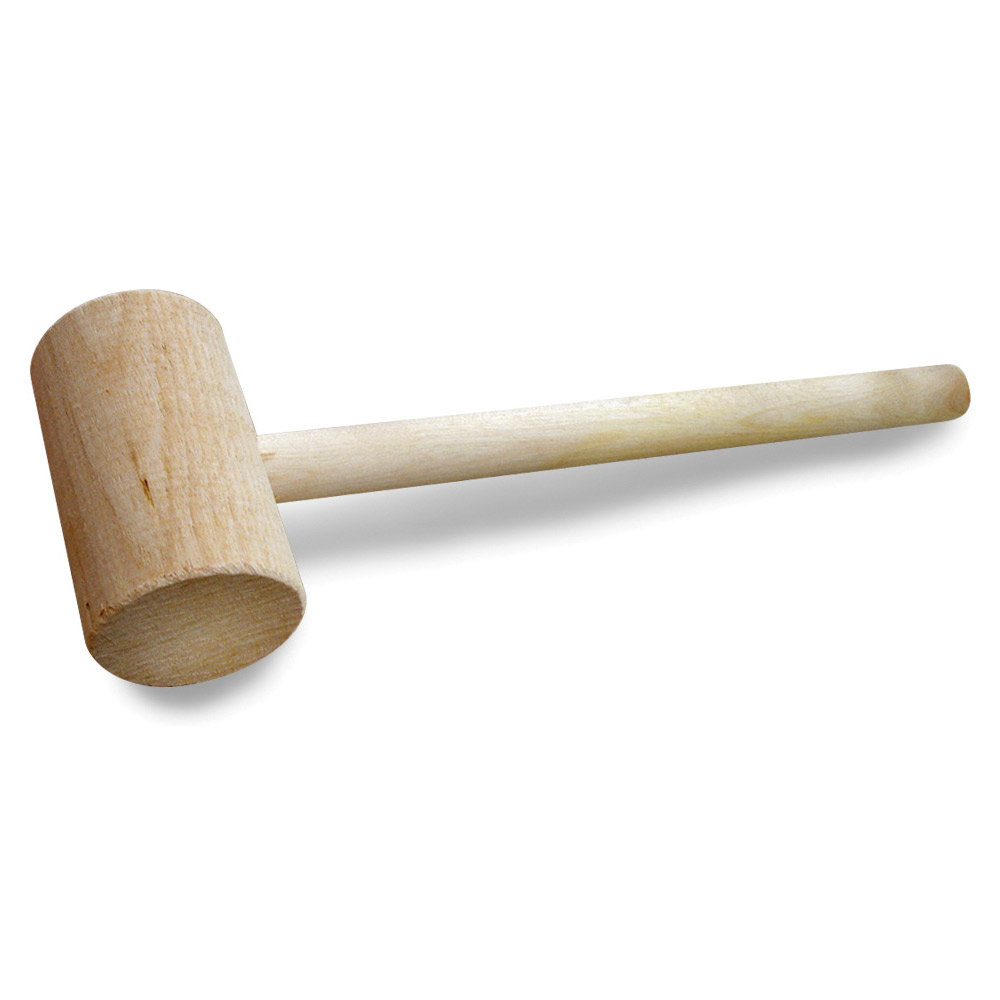
- Mallet : A small wood mallet is used to exert slightly more pressure for pushing the blade of some chisels or gouges into the hardwood block.
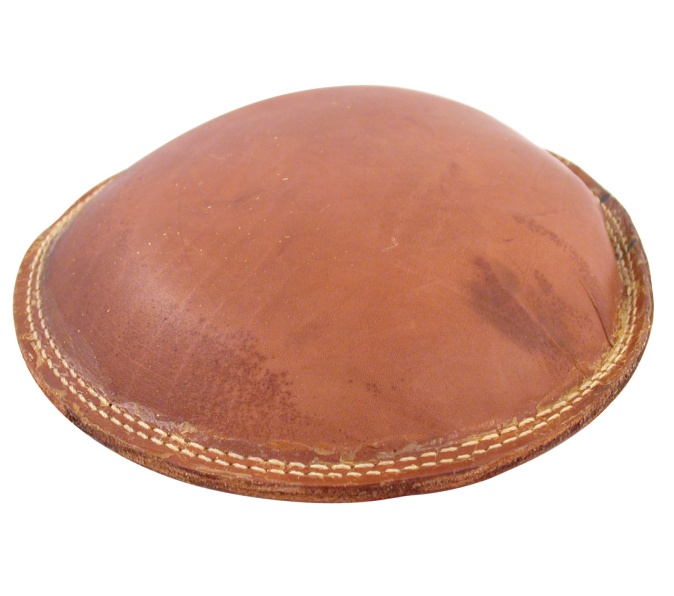
- Sandbag : A sandbag is used as a base for holding the block while engraving. It consists of a leather bag made by two circular pieces of leather sewn together and is filled with fine sand.
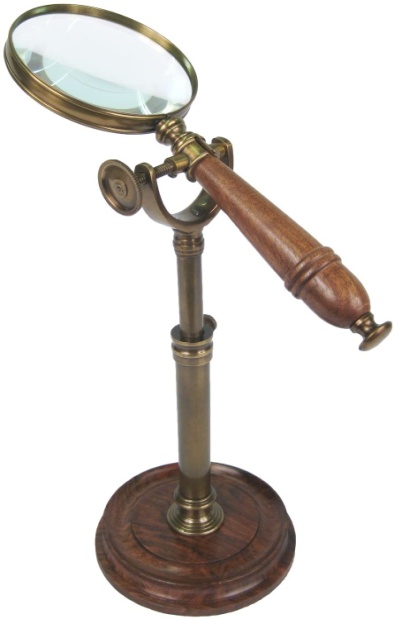
- Magnifying Glass: A magnifying glass should be used if you have defective eyesight. It enhances your vision for intricate work, avoids straining of eyes and keeps your eyes safe. A double lens should be able to cover a 2 to 3 inches block properly. You can raise, lower or just turn the lens away by using the stand along with it.
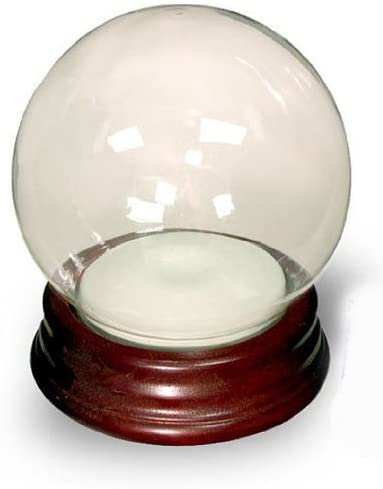
- Globe Filled with Water: It is used for focusing the light of the lamp on the workpiece at night time. The light of the lamp is kept directly behind the globe. A bull’s-eye lens can be used as a substitute for globe filled with water.
- Roller and Slab: Roller and stab are used for inking the engraved block while taking the proof. A leather roller is a good one to use. Dabber method can also be used for inking the block where ink is dabbed on the block instead of rolling on.

- Burnisher: It is used for rubbing the proof after inking the block. The back of a steel spoon will serve the purpose here as steel works best.
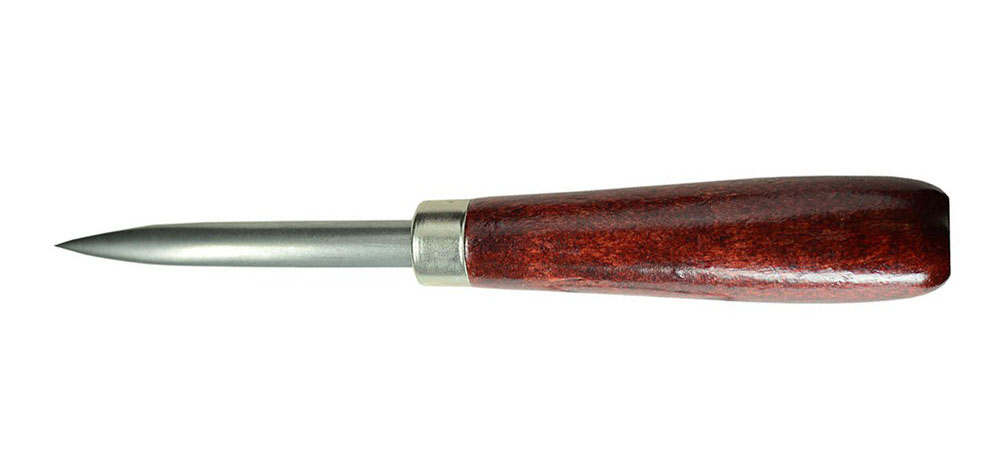
Make sure your tools are sharp before starting engraving and sharpen only the face of the tools. It is best practice to test your tools on a spare piece of boxwood first and then start engraving on your workpiece.
Tools for Engraving Letters on Wood:
Engraving letters on wood is also trending nowadays. Letters, alphabets and pictures are engraved beautifully on wood pieces giving special meaning to it. For engraving letters on wood, special kind of tools are used and each woodworking safety tool gives you a different look.
- sharp chisel with two angled lines is used for cutting divots in the wood. You can take care of the depth of the letters easily and thus your designs will be different every time. Gouge is used for sharpening and smoothing the hand carved letters, signs or other sharp edges of wood.
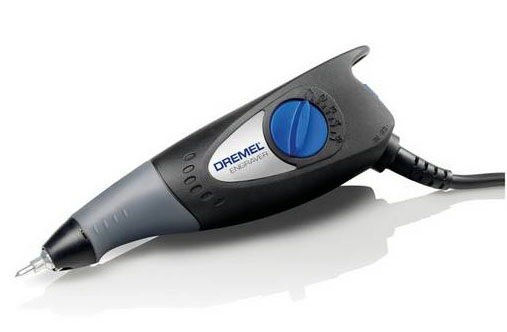
- A Dremel tool can make deep and delicate grooves or holes by its rotating action in almost any kind of wood quite easily.
A Laser machine has made etching a popular art form for home decors and sculptures. It can be used for creating small sign boards or plaques expressing something exciting or meaningful.
A Wood burner tool is a pen shaped tool that gives a distinct shape and color to the engraved letters on the board. This tool is very easy to use and handle even for the beginners
You can pick up your style, grab up your tool set and just start engraving. Engraving on wood is artistic and fun filled activity.


Leave A Comment