The entrance of your house always makes a loud statement about the owner of house. A warm, cozy and well organised entrance creates positive vibes and pleases your guests. A smart well organised entryway organiser is a great utility.
How about making your own entryway shelf which not only adds rustic appeal to your home but also serves as a corner for your coat, keys, goggles, watches, letters or other stuffs that could be easily misplaced? Let’s get started now…

Things you need:
- Wood
- Wood Biscuits
- Drill
- Drill Bits
- Measuring Tape
- Pencil or Marker
- Bandsaw / Jigsaw / Circular Table Saw
- Coat Hooks
- Carpenter’s Glue
- Electric Sander or Sanding Block
- Millet or any Hammer
- Clamps
Let’s start doing it!!!
Planning:

The entryway organiser we’ll be making here is pretty simple, sleek and stylish. It will be 70 cm in length and 25 cm in width and its thickness is 2 cm. We’ll be fixing a plank or pallet of length 70 cm, width 12.5 cm and having thickness of 2 cm vertically to the base plank.
You can start building this entryway organiser of any size according to the availability of wood and with any type of wood like plywood, pinewood, pallet wood that you have. 3 or 4 old pallets or leftover wooden planks could also be attached together and used as a base board.
Mark the length, breadth and height for both the pallets with some pencil or marker. Also, make a straight line at 11.5 cm on the base plank for attaching another plank vertically. Instead of this horizontal plank, you could also attach a small open box for better safety of the things kept on the organiser.
Cutting:

Cut both the planks of the given length, width and thickness according to the marks done with the help of any cutter machine like the chainsaw, bandsaw, table saw or hand saw.
Now, you have to drill space for inserting biscuits in both the planks about 5 cm away from each ends and one in the center of planks using drill machine fitted with drill bit. Make 2 or 3 holes touching each other to create a bigger space for fitting the biscuits.
Sanding:

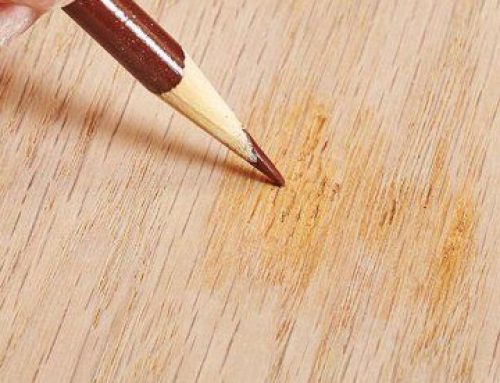
Remove any sharp edges or splinters, using electrical hand planer or sander so that the wood planks from each side looks clean and smooth.
Joining:

Join the two pieces of wooden planks together with the help of biscuit joints, dowels and carpenter’s glue from both the ends and at center on line marked for it.
A biscuit joint or a dowel is inserted between the two planks and glue is also applied to the side of the plank and in sockets of biscuits for the purpose of extra stability. Use hammer to gently fix them together. Clamp and leave it to dry for some time.
Polishing:

Add some shine by coating your organiser with varnish or Tung oil. You could also paint it white or coffee brown for classier look.
Attaching Hooks:

Drill holes for attach 3 or 5 stylish hooks for hanging coats, bags or keys uniformly in a straight line at about 19.5 cm from the top of the base board. You can also opt for magnetic hooks for hanging keys and magnetic small things so that these don’t fall off easily or can make wooden hooks for your organiser. Attach the hooks with the help of millet and nails.
Drill out some space for fixing heavy duty wall mounting clips at both the ends and attach the clips with the nails given along with it at the back of the organiser.
Your elegant homemade entryway space organiser is ready to be mounted on the entrance wall! Hang it up, put some stuff on it and then its click time again…Click some nice pictures and show it to your friends and relatives. Don’t forget to share your experience with us!


Leave A Comment